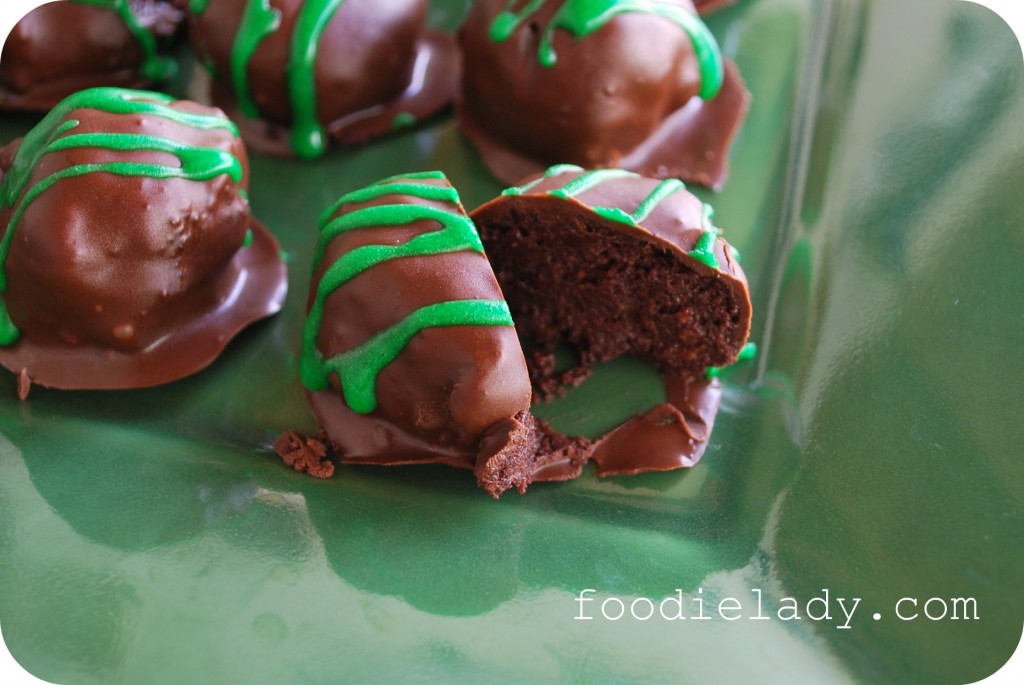
Cake balls are the new hot trend in food blogs across the United States, so Foodielady.com couldn’t miss out on this! It is not something new, just en vogue. Even Starbucks is capitalizing on it! It originated as a clever way to use leftover cake. I tried some vanilla-rum cake balls at the “Let them eat Cake” Party in Miami’s SOBE Wine and Food Festival and they were super good. Blogs like Bakerella specialize in this art. She has even written a book on Cake Pops (cake balls on a stick)… which are really cute. Let me tell you, this woman is an artist! My favorites are the tiny cake ball “burgers” design and her trademark “cupcake pops”.
While surfing the internet and researching which cake ball I wanted to make first, I thought I should make something minty, chocolaty and green for St. Patrick’s Day. There was one suggestion featured on Foodbuzz (a community of food bloggers I belong to) made with chocolate cake and mint Oreo cookies, but we don’t get those in Puerto Rico. So, I came up with my own version of Chocolate-Mint Cake Balls which you are going to LOVE! The chocolate intense, the mint subtle.
Make sure you freeze the cake balls for at least 30 minutes before dipping into chocolate. For me, melting and dipping into the chocolate was the hardest part. Chocolate can be tricky sometimes. Most recipes tell you to melt chocolate in the microwave, but that seldom works for me. I tend to over heat and forever damage the chocolate. So, I melt my chocolate in a bain-marie (baño de María) or double boiler, 2/3 of a pound of similar size chocolate chunks up to 110º F approximately, stirring frequently. Remove from heat and add remaining 1/3 of pound and stir with silicone spatula until temperature has lowered to about 84ºF. Remove any chunks of chocolate and save for use some other time. Set chocolate again over hot water and bring up 89-90ºF. Remove from water. This process is called tempering and might take up to 45 minutes (you can do it while you wait for the cake balls to freeze). If you are pressed on time, simply add some vegetable oil or shortening to the chocolate (which I have done many times like this one), but you have to keep the cake balls refrigerated because the chocolate coating will become soft at room temperature if not tempered. When using candy coating, it is faster and you don’t need to temper like real chocolate, it can be mostly done by heating in a microwave in 30 seconds intervals and stirring until melted. Remember chocolate is sensitive to moisture and humidity.
One thing is for sure, I need to get one of those sticks with a loop at the end that chocolatiers use to dip into chocolate, because I handled the cake balls with a fork and a spoon and the results are not too pretty, but undoubtedly good!
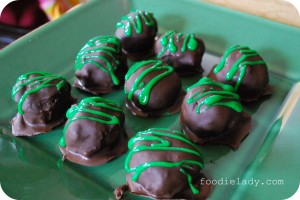
I brought these babies to my tennis league practice tonight and they all loved the texture and taste. Thanks girls for being my guinea pigs!
As you may have noticed, I hardly post recipes that are not made from scratch. However, I will make an exception this time. Making this recipe was easy, fun and delicious! Ah, I forgot to mention MESSY! Also, my kids enjoyed helping me out.
Next on my to do list, learning to put cake balls on a stick!!! Will keep you posted….
Enjoy!
Chocolate-Mint Cake Balls
Ingredients
1 box of Devil’s Food Cake Mix
16 ounces Chocolate Frosting
12 chocolate covered mint patties, mint Oreos or Girl Scout cookies’ Thin Mints (all about 1 1/2 inches in diameter)
1 pound semi-sweet or dark chocolate chips/chunks, you may also use chocolate candy coating (follow manufacturer instructions)
green cookie decorating frosting or green royal icing (optional)
Procedure
1. Bake Devil’s Food Cake Mix according to manufacturer’s instructions. Let cool completely.
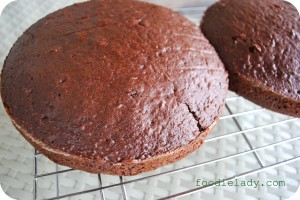
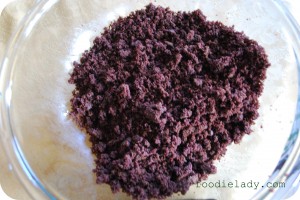
2. Once cake is cool. Break into large pieces. Take two pieces and rub against each other to pulverize cake. If large chunks still remain, put between your hands and rub. This process should be done by hand.
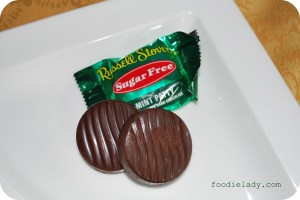
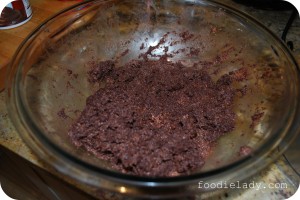
3. Meanwhile, grind chocolate mint patties/cookies in a food processor to form a grainy paste. Add ground mint patties/cookies and frosting to pulverized cake and fold with a silicone spatula until well combined.
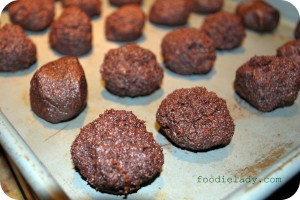
4. Make cake balls with your hands (yields about 60 smaller than a golf ball size) and freeze for at least 30 minutes.
5. In the mean time, melt chocolate (as explained above) and prepare green royal icing if you cannot find ready made cookie decorating green frosting.
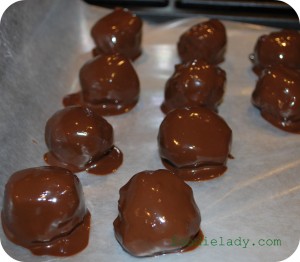

6. Dip the balls in chocolate and place on wax or parchment paper until it hardens. You may also refrigerate if its too hot or humid. Drizzle with green royal icing or cookie decorating frosting. Store in airtight container and refrigerate.


Love, love, love them! Thought you had to bake the balls, not to crumble a bake cake. But, cool! Will try to make the soon. Thanks!
yeah! its pretty easy and super delicious!
As popular as these might be I have never heard of them until now! I am so excited to try this recipe and introduce them to many others for a nice surprise.
What is the easiest way to dip the cake balls in the chocolate once they are ready? I tried to do this last night and the chocolate was really thick which made it hard to dip. They still turned out yummy, but I am going to make them again this week for another party and was hoping it would go a little more smoothly!
hi kayty! sorry for the late response. the first thing is you should put the cake balls in the freezer so that they become hard. then, melt the chocolate in a bain marie (in a bowl over simmering water, don’t let the water touch the bowl just the steam) which will help you keep the chocolate at a nice flowing consistency. i use a fork to help in the dipping process to “lift” the cake ball once you dip it. the are tools sold for this at candy or bakery shops, even internet. its shaped like a loop so that you can dip and lift easily. if the chocolate becomes too thick you may add a little canola or vegetable oil. hope this helps!
This look so yummy! I have been making cake balls for about 2 years now and we love them. I have it down to a science for all kinds of flavors and decorations.
After using many tools to dip the balls, I have found(for me) the best thing is a plastic fork with ONE tine. The balls slip right off the platic. So I take a STURDY plastic fork and break off all but one tine. I throw the cold cake ball in the melted chocolate, flip it onces with the fork to coat and then stabbed that little baby and gently lift it out and onto the waxpaper. The small hole can be covered with a drop of chocolate from the fork or hidden under a decoration.
thanks judy for the great tip!
I made about the same thing, except I used only the mint oreos and Andes candies. I used softened cream cheese to hold everything together leaving some of of the oreos out to rollin after making the balls. i placed in the freezer, hardened, then used white chocolate (melted) and placed 1 ball @ a time in and then let cool… Yummy!!